The Larapinta Trail is on Arrernte Country. I acknowledge the Traditional Custodians of this area and their connection to Country, and pay my respects to their Elders past and present.
Central Australia has pulled on our hearts since we first visited parts of Tjoritja (West MacDonnell) National Park in 2017. And since our four-week Northern Territory adventure and 3-day Ellery Creek loop hike in 2021, we’d been discussing hiking the entire Larapinta Trail.
So much so that given the incessant rain and widespread flooding in Queensland in 2022, we seriously considered hiking the Larapinta Trail for our mid-year outback adventure last year. But then we failed to get accommodation in Alice Springs before and after the hike with flights also seemingly impossible to secure. Every possible date was just booked out. So we put it off for another year.
And we’re so glad we did.
Apparently, in 2022 and still mid/just post-COVID times, the trail was overrun with non-hikers (and hikers) in epic proportions as well as armies of mice. And who wants to be visited by mice that you can hear coming in droves every night and that chew through everything from tents to shoes and backpacks?! Yikes.
I think I may have seen one mouse on our hike this year, scuttling away from our tent but I’m not even 100% sure it was a mouse.

HIKING THE LARAPINTA TRAIL: OUR LARAPINTA HIKE AT A GLANCE
Here’s a quick overview of how we divvied up the 230 km trail (after weeks and weeks of planning):
- Sections hiked: 11 (skipped Section 12)
- Days hiked: 15 + a rest day = 16 days, 15 nights
- Direction hiked: West to East, starting at Redbank Gorge
ITINERARY
This is not our planned itinerary but what actually happened on the trail hence some rather uneven distances. The first six days went more or less as planned but from then the timing and distances took on a life of their own.
Distances are per the “Larapinta Trail” guidebook by John Chapman, not actual distances since when you lose the trail, take photos or backtrack, you invariably end up walking a lot more than what any trail markers or books might tell you.
- Section 11-10: Redbank Gorge to Ormiston Gorge
- Day 1: Transfer to Redbank Gorge – Hilltop Lookout (16.2 km)
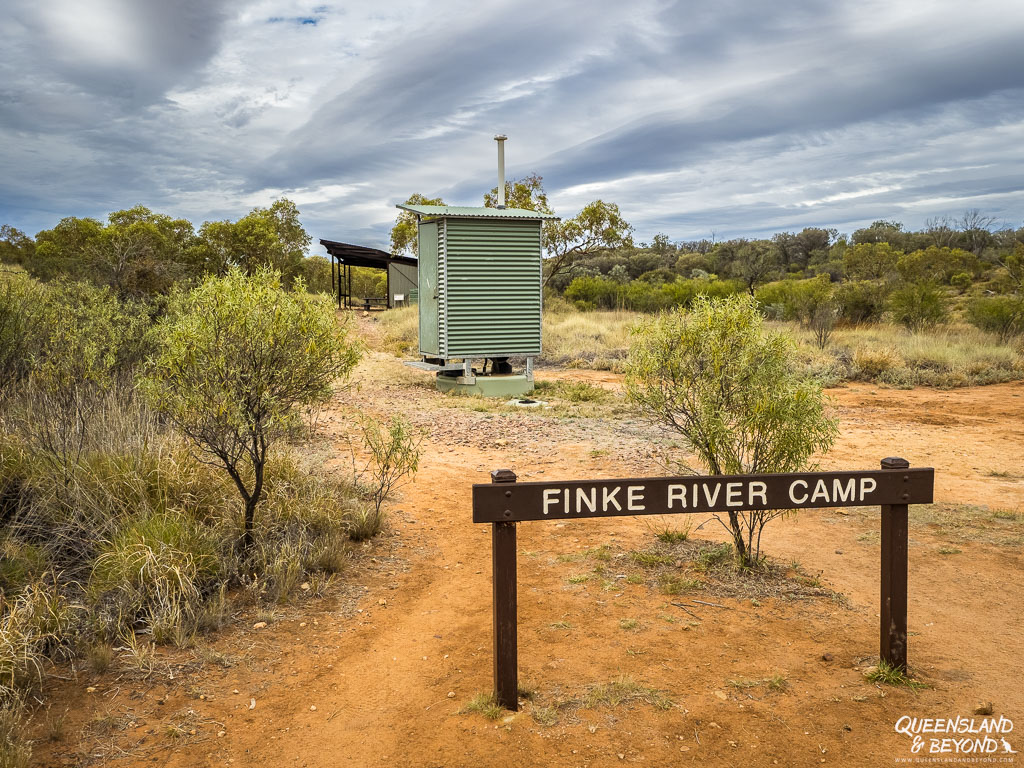
- Day 2: Hilltop Lookout – Finke River (9.6 km)
- Day 3: Finke River – Ormiston Gorge (8.9 km), first food drop
- Section 9-8: Ormiston Gorge to Serpentine Gorge
- Day 4: Ormiston Gorge – Hermit’s Hideaway (10.5 km)
- Day 5: Hermit’s Hideaway – Serpentine Chalet Dam (18.7 km)
- Day 6: Serpentine Chalet Dam – Serpentine Gorge (13.8 km), second food drop
- Section 7-4: Serpentine Gorge to Standley Chasm
- Day 7: Serpentine Gorge – Rocky Gully (25.8 km)
- Day 8: Rocky Gully – Hugh Gorge (15.3 km)
- Day 9: Rest day (0 km, due to weather)
- Day 10: Hugh Gorge – Fringe Lily Creek (7.3 km)
- Day 11: Fringe Lily Creek – Stuart’s Pass (11.8 km)
- Day 12: Stuart’s Pass – Standley Chasm (14.1 km), third food drop
- Section 3-1: Standley Chasm to Alice Springs
- Day 13: Standley Chasm – Millers Flat (5 km)
- Day 14: Millers Flat – Mulga Camp (18.4 km)
- Day 15: Mulga Camp – Wallaby Gap (25.3 km)
- Day 16: Wallaby Gap – Alice Springs (13.5 km) + 5 km to our accommodation in Alice
We hadn’t planned to camp at Finke River necessarily but had a backpack to fix before we could move on and ended up staying there. Hermit’s Hideaway wasn’t planned (rather Mount Giles Lookout or Waterfall Gorge) but we liked the shade there. We wanted to stay at Ellery Creek North but with bad weather coming, we decided to move on. We waited until lunchtime at Standley Chasm for a break in the weather and made it as far as Millers Flat that day before the rain closed in again and we decided to call it a day.
Having allocated enough days to do the trail gave us the flexibility we needed.
OUR LARAPINTA TRAIL EXPERIENCE
One of the first questions friends and family have asked since returning is ‘would you do it again?’, and both of us have the same reaction: ‘yes, in a heartbeat’!
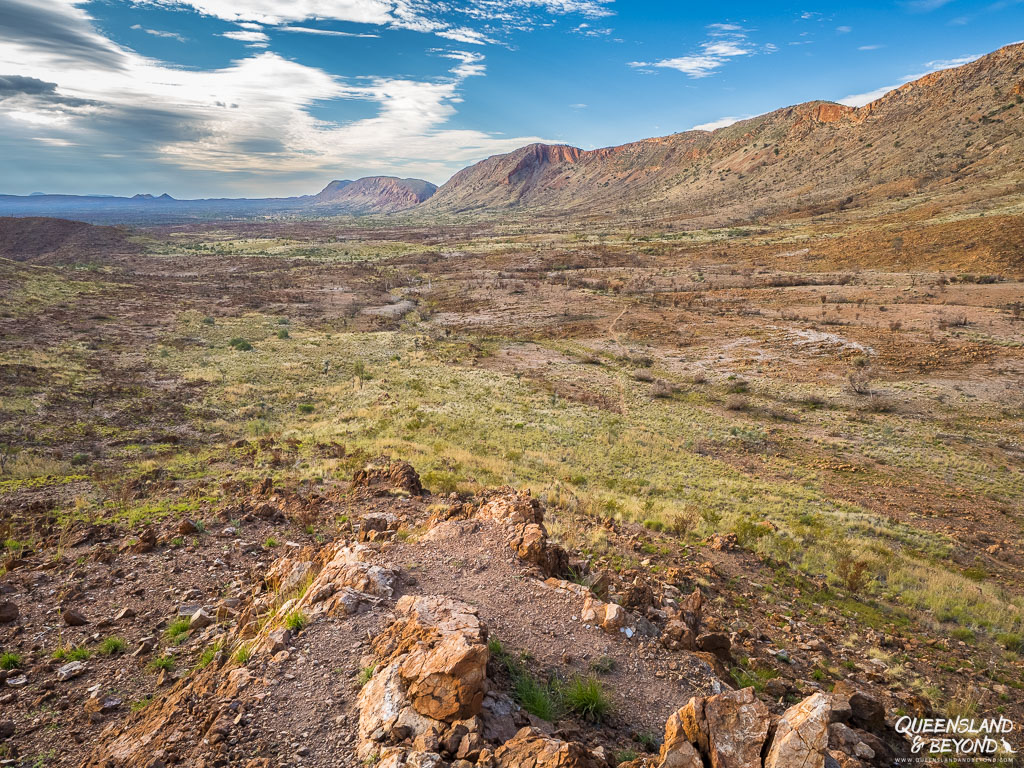
The Larapinta Trail is simply a stunning, breathtaking hike that takes you through some of the most incredible desert mountain ranges you’ll ever see.
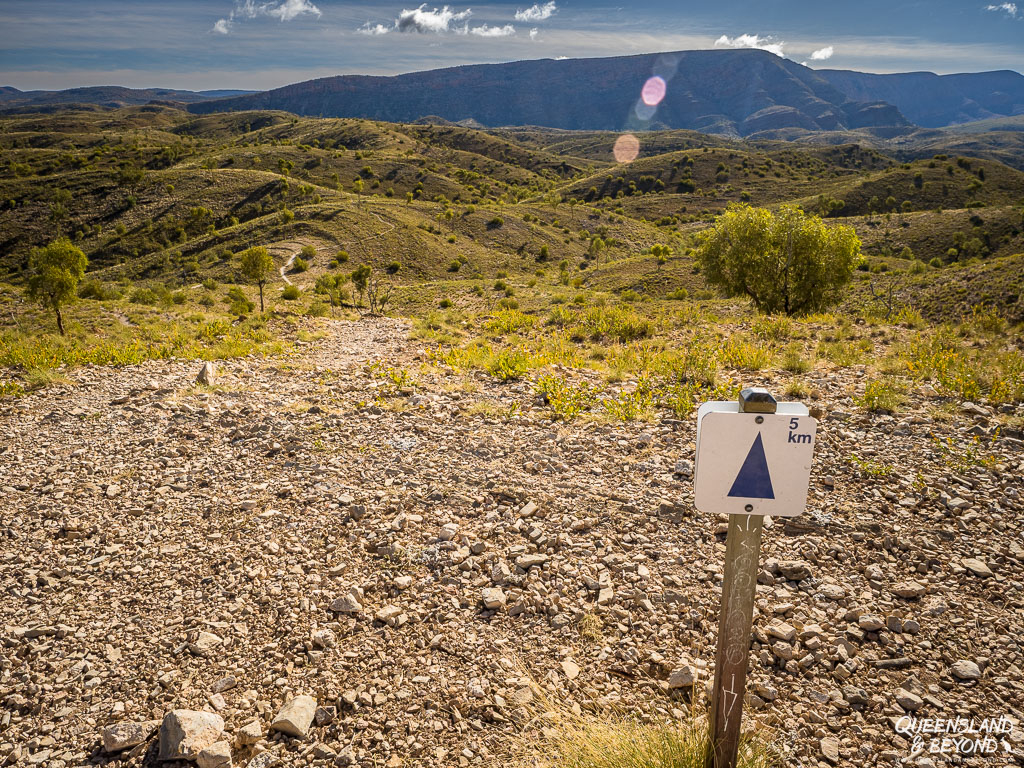
And you’ll learn that the desert can be hilly. Quite hilly.
On the whole, things went well.
I had no food issues (yay!), almost no headaches (what?!!), no heat exhaustion, very little anxiety, and my foam roller (yes, yes, I carry one), kinesiology tape, muscle rub and magnesium supplements took care of most of my muscle aches, knots, and rubbing skin. Both of us only got a blister on the last day!
(I attribute mine to the fact that I wore damp/wet socks for the last few days, then changed to a different pair of socks for the very last day as my damp socks had dried but had turned hard and started rubbing on my heels. I ignored the hot spot I was getting on my toe, a big no-no, since I was almost back in Alice but by which time I had developed a nice full-blown blister on my right little toe. Ah well.)
We did, however, have equipment failures (see below) and such atrocious weather coming over Brinkley Bluff (Section 4) that I was frozen to the core and took hours to warm up again afterwards. Hiking in the rain and freezing cold is no fun, hiking in the rain when you’re in the desert and don’t expect rain of such magnitude is even less fun. And packing up wet gear in the rain and wearing wet boots is even less less fun.
Our hiking boots worked well. The husband had bought a new pair last minute due to ankle problems but luckily had no issues on the trail. My Oboz boots are well-worn anyway but look somewhat more “shredded” than they did before.
The Larapinta is no walk in the park – the ground is rocky, hard and with sharp edges everywhere. Quartzite rock is no friend to boots or clothes.
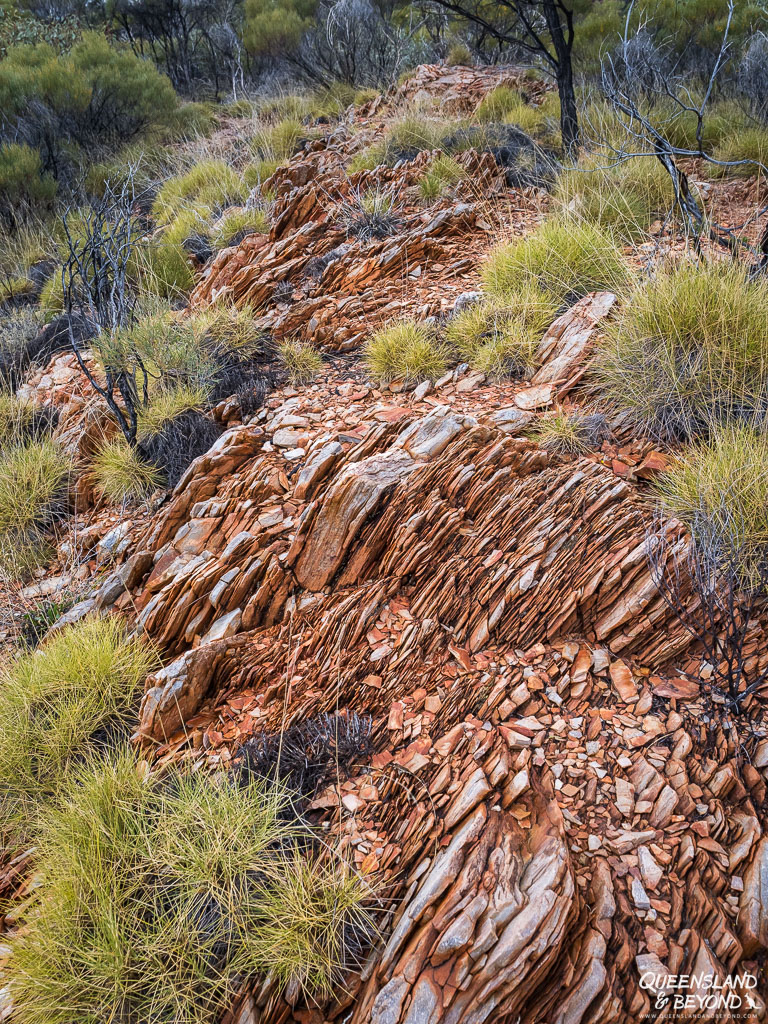
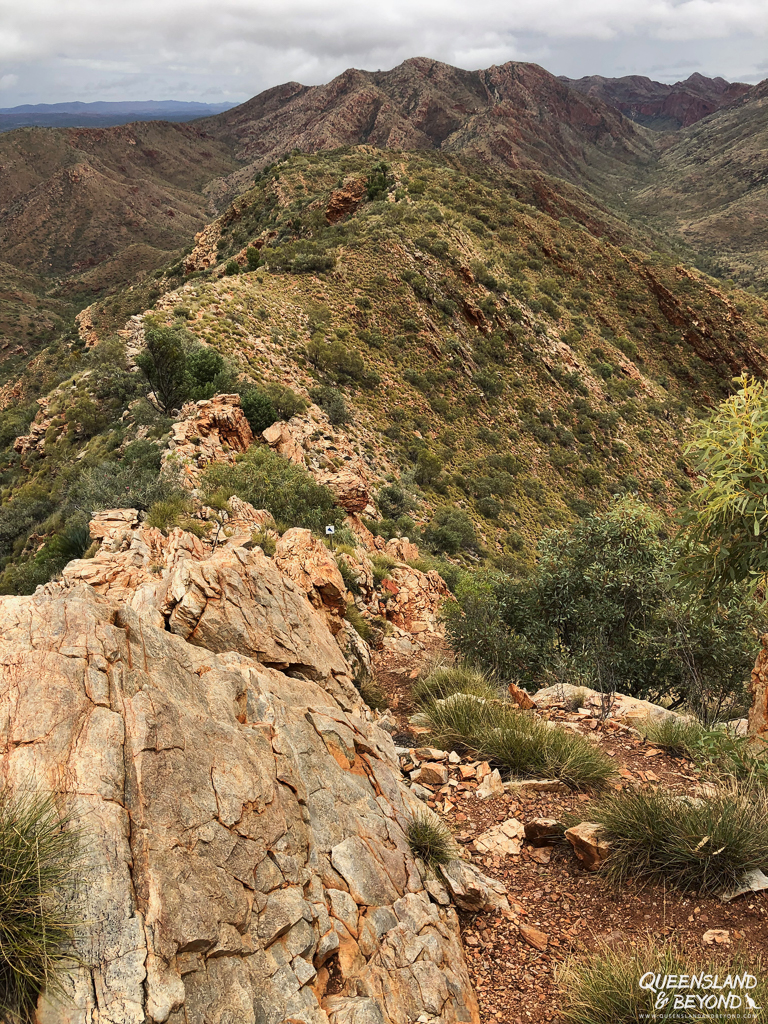
We were not expecting the trail to be easy (since we’d been out to the West Macs twice before and had a pretty good idea of what to expect), and it wasn’t.
It’s not hard and challenging all day every day, and some stretches of the trail are indeed almost flat. But on the whole, the Larapinta Trail is undulating (not flat flat as some hikers seem to think) and even sections that look like they’re flat on the maps, are generally not flat. They’re up and down little hills which can get pretty tiring if you’re not 25 with boundless energy anymore.

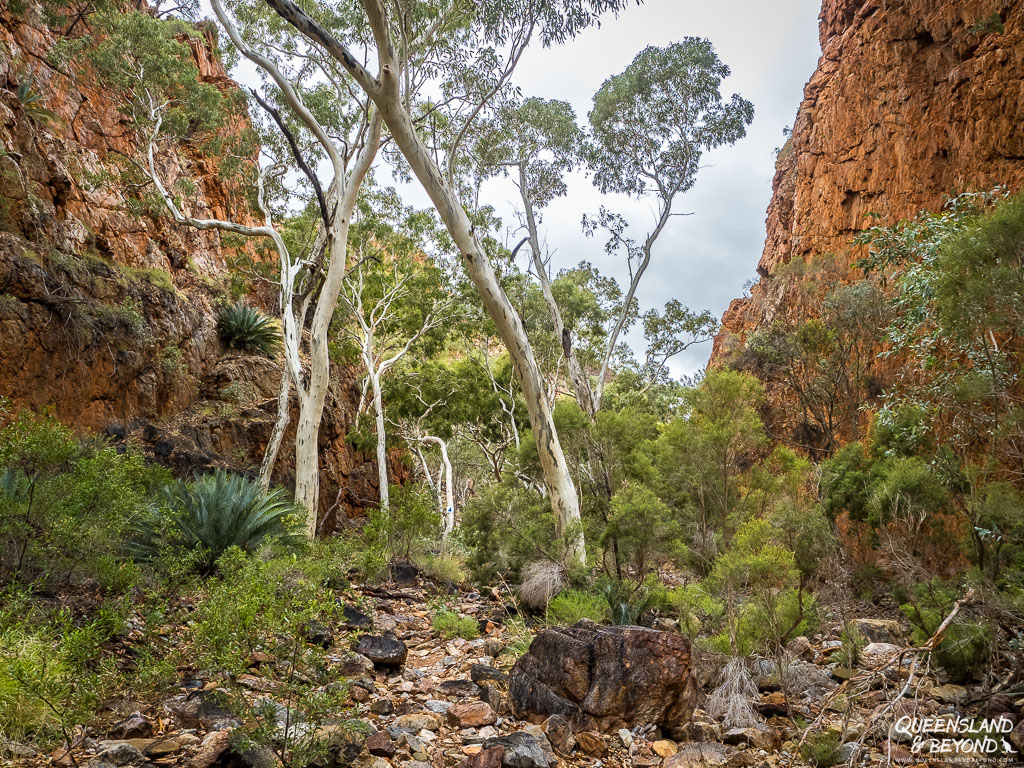
There is also plenty of hiking in dry, rocky or sandy creek beds, which can be slow and painful after a while, and boulder scrambling through gorges, which is always easier up then down, especially with a heavy pack.
BEST AND LEAST FAVOURITE SECTIONS
We really loved the whole trail.
Some hikers feel that Section 6 is boring (across Alice Valley from the Chewings Range to the Heavitree Range or vice versa) but both of us thought it was an amazing and stunning section as we crossed the whole valley floor (well, minus the constant up and down, that did become a bit tedious at the end).
I can, however, imagine this section being less than pleasant in full sun on a hot day (and hot can mean 25°+ out here) as it’s entirely exposed.

FAVOURITE SECTIONS
Section 9 is one of the hardest but most rewarding and breathtaking parts of the trail. We broke the 29 km section up into two days, and it was so worth it. We loved every kilometre of it, bar the last two because we were hot and sweaty that day, I had run out of water and we’d had enough of walking on the exposed trail. Plus there’s not that much to see once you’re past Inarlanga Pass.
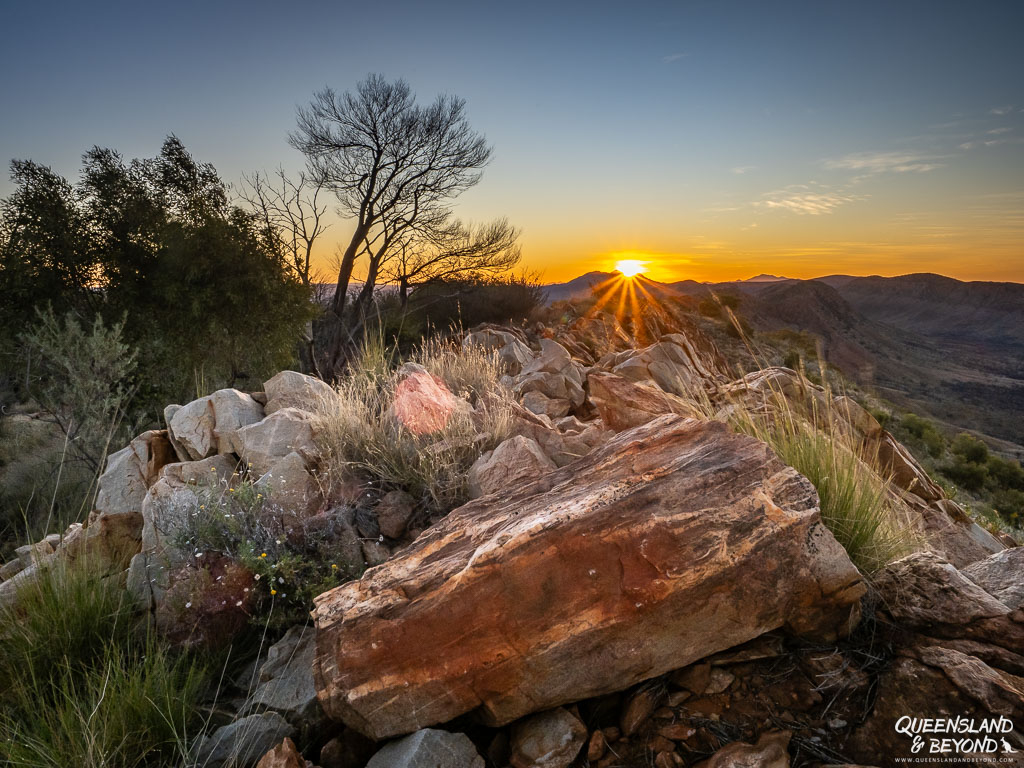
Section 5 is another favourite. I didn’t much like the swim in Hugh Gorge through icy water but it was only short and I was clean again. And Upper Hugh Gorge is simply stunning as are the views from Razorback Ridge.
LEAST FAVOURITE SECTION
There really aren’t any bad sections on the Larapinta Trail.
Some sections, or rather parts of sections, are less enjoyable than others (usually the last two kilometres, which always seem to drag on beyond what they rightly should!) but on the whole the entire trail is really fantastic.
We didn’t really appreciate the end of Section 5 too much when we were going through Rocky Talus (a steep boulder-strewn creek bed) and Spencer Gorge (equally boulder-strewn and requiring a lot of rock navigation skills) in the rain. Every step in the creek bed and gorge was onto more slippery rock, it was cold and clammy, and we were starting to get really wet.

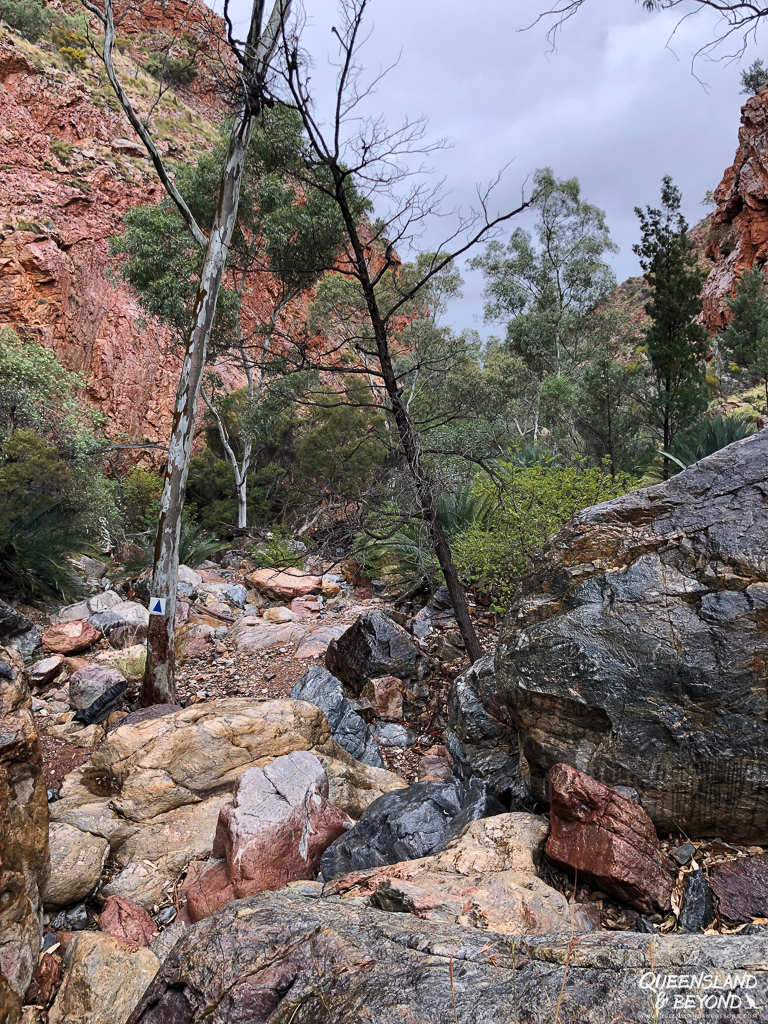
In normal conditions, I can imagine Spencer Gorge looking quite wonderful in the early morning but our experience was less than fun.
That said, for me personally, I found Section 4 to be the hardest and least appealing, and that’s because we did it in pouring rain, icy side winds and subzero temperatures. Section 4 takes you from Birthday Junction (4/5) to Standley Chasm over Brinkley Bluff, the highest elevation on the trail after Mount Sonder.
The ascent coming from Section 4/5 is steep and the trek across Brinkley felt very, very long. It was icy, foggy, slippery, and the trail narrows in some sections and is hard to make out in bad weather conditions. At times, it felt downright dangerous with the strong winds. We also lost the trail a few times, adding to the stress of being buffeted by winds and rain. (I have almost no photos from that day.)
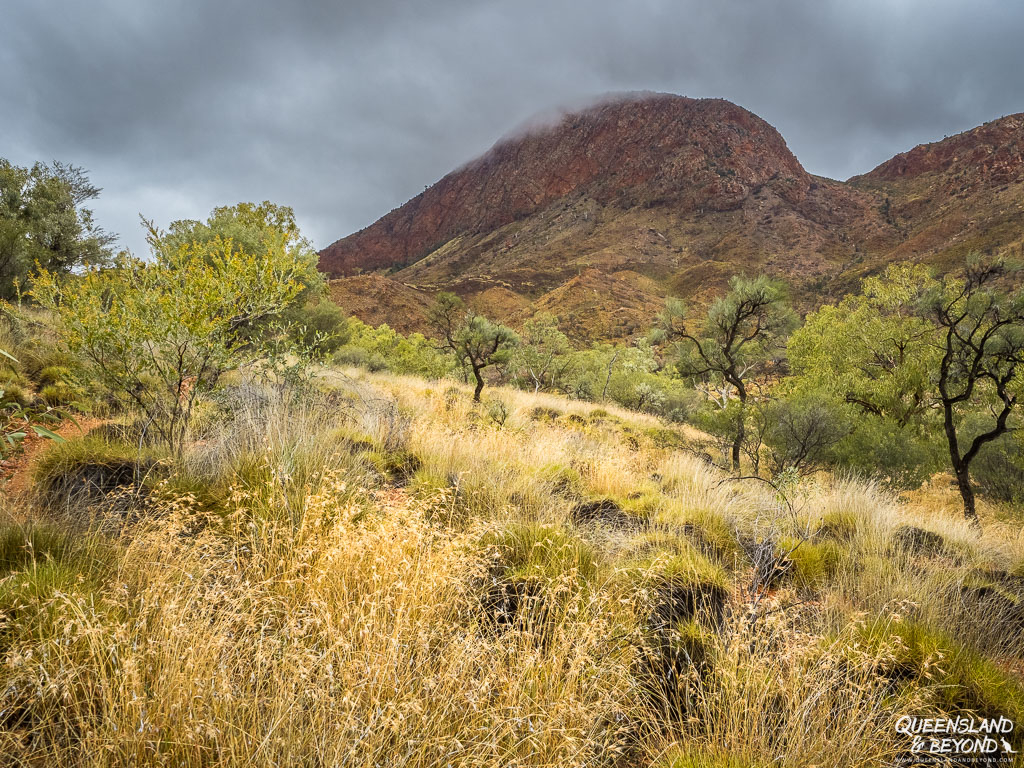
I’d like to do it again so I can revise my opinion of Brinkley!
POST-HIKE THOUGHTS ON HIKING THE LARAPINTA TRAIL
Post-hike you’re always smarter and we’d make some changes too.
Not too many though because overall, it was a really fantastic and enjoyable adventure. We put in so much effort and time into planning that we were well-prepared (except perhaps for the unpredictable and crazy weather event that gave us almost a week of incessant rain).
Here are some post-hike thoughts:
1. Hiked E2E (end-to-end) but skipped Section 12 (Mount Sonder climb)
- climbed Mount Sonder in 2021 already so didn’t “feel the need” to climb it again this time
- arrived at Redbank Gorge around 10am, and would have had to wait until the afternoon to hike up for sunset (or sunrise the next morning), staying the first night at Redbank Gorge and thus “wasting” the first day; happy with our decision to get going and not stay at Redbank
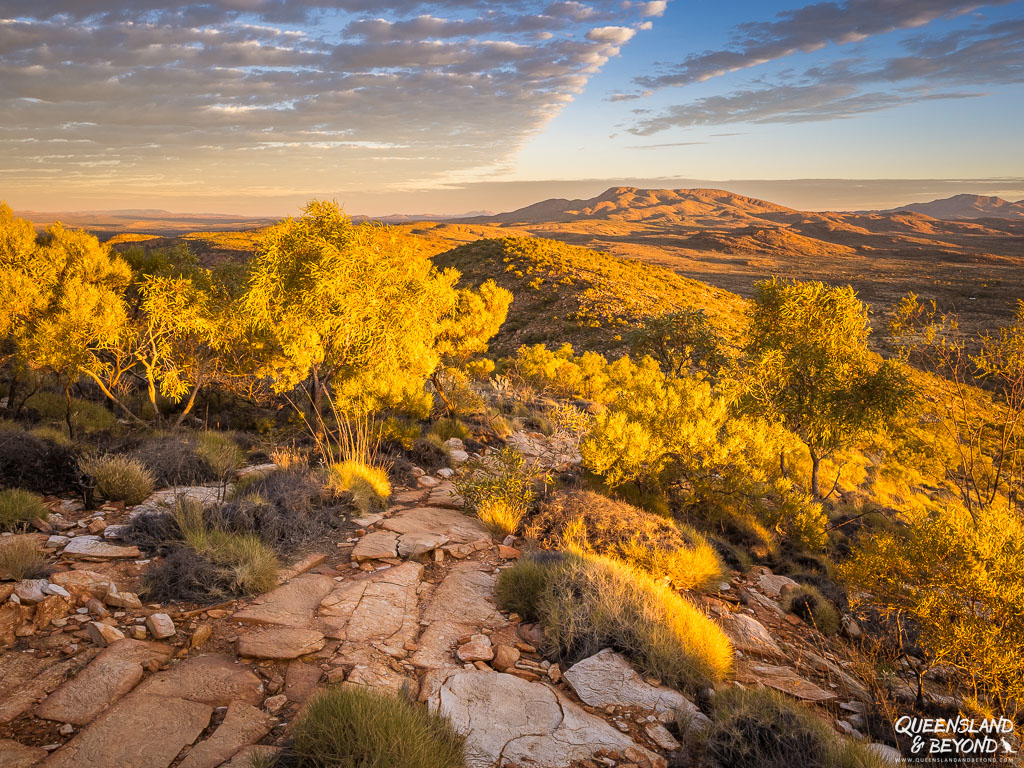
2. Walked the trail west to east, starting at Redbank Gorge
- unable to get a pick-up transfer back to Alice given time constraints so decided to walk west to east and get a drop-off transfer to Redbank Gorge instead
- less popular option as you walk into the sun in the morning (but turned out to be no problem) and back towards civilisation (also didn’t mind that and in fact, I found it soothing for my anxiety initially as I was going back to ‘safety’ rather than away)
- some of the ascents are steeper walking west to east but that suited us given that some of the descents are more gradual then (both of us “prefer” steep uphills to steep downhills)
- prevalent wind direction on the trail tends to be from the southwest so we usually had the wind at our backs, not in our faces; this was a big bonus given the frequently icy winds we experienced on the trail
- starting from Redbank Gorge allowed us to ease into the hike and take it slow for the first few days (gave us the option to have shorter days + less food to carry until first food drop)
- no regrets walking this direction (we turned around so frequently and things always look so differently in each direction anyway) but it would also be special to walk towards Mount Sonder, not away
3. Spent 16 days, 15 nights, mid-June to early July
- allowed us to have a rest day (due to weather) and not rush through some of the longer or tougher sections
- would spend same amount of time or even longer next time if we also wanted to climb Mount Sonder, add the Ormiston Pound walk (again) or explore the trail towards Glen Helen
- having more time allowed us time for side trips like Upper Hugh Gorge
- the trail can easily be completed in less time, especially if you’re (very) fit and/or ultra-light but the chances of injury increase, you won’t have as much time for side trips, and campsite choices will be less flexible as you’ll need to cover more distance each day
4. Enjoyed a fairly quiet camping experience on the whole
- had four busy campsites (15+ people; Rocky Gully had 25+ people and was less than enjoyable but I was very tired so didn’t care too much), three campsites by ourselves, and the rest between 1 to 5 other people
- camped mostly at trail shelters (but did not sleep in shelters, though a fair few people did on their mats) or campgrounds with water tanks
- stayed at five dry camps (no water tanks): Hilltop Lookout (busy but great views of Mount Sonder), Hermit’s Hideaway (stunning ridge views and our favourite), Fringe Lily Creek (quite nice), Stuart’s Pass (great site but terrible weather), and Millers Flat (steep valley views if only the weather had been amenable)
5. Filtered all our water
- used mostly water from water tanks but also Hugh Gorge Creek, Fringe Lily (rainwater pools) and Stuart’s Pass (rainwater pools)
- rainwater would not be a given in a dry year / normal conditions, it just so happened that we had a crazy wet weather event while on our hike so we were confident to find rainwater when needed
- we use a Grayl water filter (which is bulky but filters not only almost all waterborne pathogens etc. but also sediment in next to no time)
6. Organised three food drops
- Ormiston Gorge, Serpentine Gorge and Standley Chasm; Serpentine Gorge and Standley Chasm included gear retrievals
- allowed us to pack fresh socks and some other clean clothes (which we really only used at Standley Chasm so wouldn’t bother putting them in half-way again)
- included powerbank + spare camera batteries in boxes as well as refills for various things (e.g. extra bandaids, wilderness wipes, electrolytes, toilet paper)
- would organise gear retrievals for each box next time to allow us to leave unwanted gear and food behind (and to swap out camera batteries etc.)
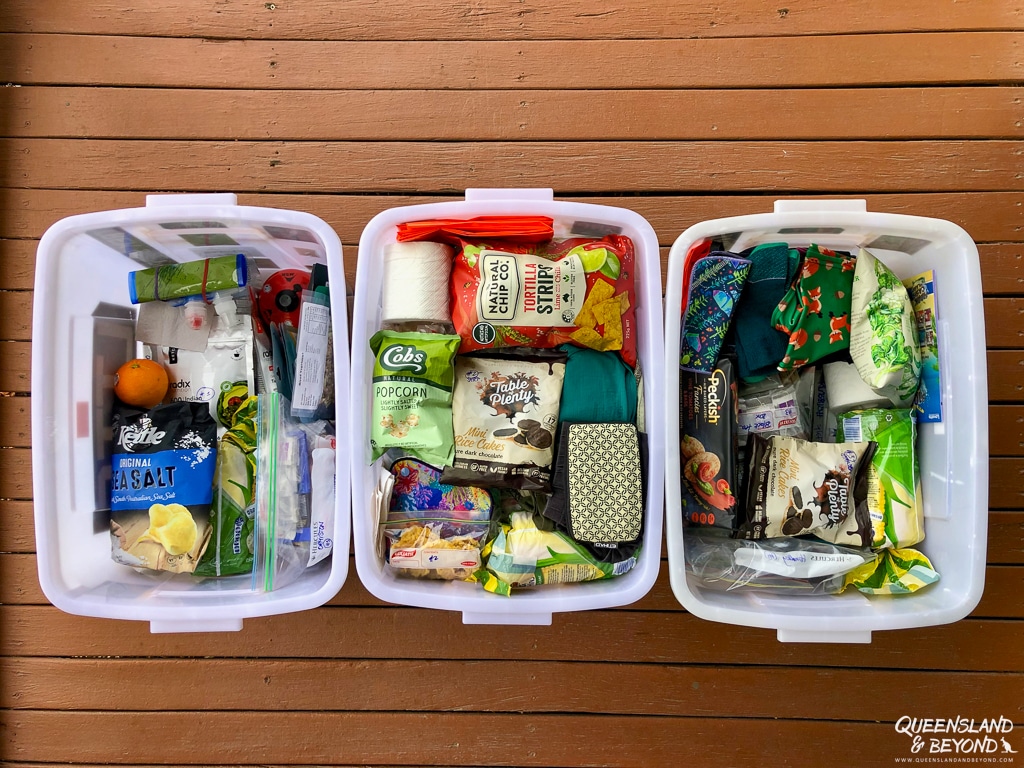
7. Packed far too much food, especially snacks (muesli bars etc.)
- seems to be a common “mistake” among hikers
- gave away chocolate, muesli bars and other treats but also dumped a lot of food in the two gear retrieval boxes
8. Needed to repair gear three times
- broken harness strap on backpack (Day 1), able to fix temporarily
- broken zip on sleeping bag (Day 5), able to do up zip veeeery sloooowly the next day and from then “worm” my way in and out with only the occassional zipper breaks
- broken sleeping mat (Day 10), unable to find puncture and fix it; instead the husband slept on a mat that lost most of its air within two hours and thus needed to be blown up every two hours, making the last few nights fun
- highlighted the importance of having a good ‘fix’em’ kit on long hikes
LESSONS LEARNT FROM OUR LARAPINTA TRAIL HIKE
- Don’t bother taking a book. Neither of us read a single page. We were either too busy hiking, sorting out food drops, exploring the area or doing side trips, talking to other hikers, prepping for the next day (e.g. filling up water bladders, sorting out snacks), setting up the tent, taking photos, fixing equipment, trying to stay warm, having cups of tea, making dinner, …
- Don’t bring freeze-dried strawberries, they just make a mess. Dried pineapple, however, worked great and I’m so glad I included it in my daily snacks. I could have eaten kilos of it.
- Don’t bring too many snacks: For each day, I allocated for myself 2x muesli bars, 1x 50g portion of gummy snakes, 3-4 dried pineapple rings, 1x afternoon treat (lamington snack ball or similar), 1x dried chickpeas (for something salty), 2x peanut butter corn cracker sandwiches. I could not eat all this every day (plus breakfast, lunch and dinner), and ended up ditching a lot of the snacks (mostly muesli bars) in our food drops / gifting it to hikers who were on the ‘not enough snacks’ spectrum.
- Don’t pack too many treats in your food drops. I packed a lot of treats for our food drop nights, from oranges (great choice!) to rice crackers with cheese, chips and more. Again, too many treats to eat in one night and too bulky or ‘rubbish-y’ to carry along. Left a lot of treats behind.
- Hiking poles are a must but they do take getting used to and can put a bit of a strain on your shoulders (since you’re suddenly hiking “with” your shoulders as well). If you have no shoulder / neck issues, you probably won’t even notice.
- Take a belt or some rope to keep your pants up. I had lost so much weight by the end that my pants (literally!) fell off my hips. Luckily my shorts are elastic so they stayed up somewhat better.
- If you do double sections (which we did a couple of times), your body really feels it unless, of course, you’re ultra-fit or a 25-year-old bouncy pony. Single sections or our average 15 km were fine, anything above 20 km put a bit too much strain on our bodies and my feet and legs would really feel it.
- We carry a personal locator beacon (PLB) and a GPS (mostly for elevation information) on our outback adventures and serious hikes but together they’re quite heavy. We’re now considering getting some sort of satnav device, e.g. Garmin InReach, that combines the two into one. They’re smaller and lighter.
Happy Larapinta Trail planning,

FURTHER READING
If you’re interested in a day-by-day account of our Larapinta Trail hike, I’ve got Part 1 (Redbank Gorge to Ormiston Gorge) and Part 2 (Ormiston Gorge to Serpentine Gorge) written up. Just a heads-up, they’re quite long but I’ve also included some post-hike tips and thoughts for each leg.
I’ve also found Louise Denton’s very detailed posts on her Larapinta hike super helpful for our preparation. Louise is a photographer and her photos are just gorgeous.
Any questions? Comments? Feel free to post below.
SAVE TO PINTEREST
This post contains a few affiliate links to Snowys Outdoors, for which I may be compensated for referring traffic and business. I've personally shopped at Snowys many times, and we own or have owned the items I link to (or very similar ones).


1 Comment
Jake
7 March 2024 at 2:54 PMExcellent report thanks.