Despite the barrenness and heat, I’m fascinated by Australia’s interior.
Vast open spaces, apparent emptiness (which isn’t empty at all), sunburnt, dark red soil that is so uniquely Australian, and life far removed from what 95% of Australians know (paywall-restricted).
Australia’s outback is hot, harsh and tough beyond measure.
I’m fascinated by what it takes to live in such inhospitable conditions and admittedly, I know I could never live there myself. The long, hot summers would simply kill me. But in winter, it’s a different story and that’s when I get my chance to go out west.
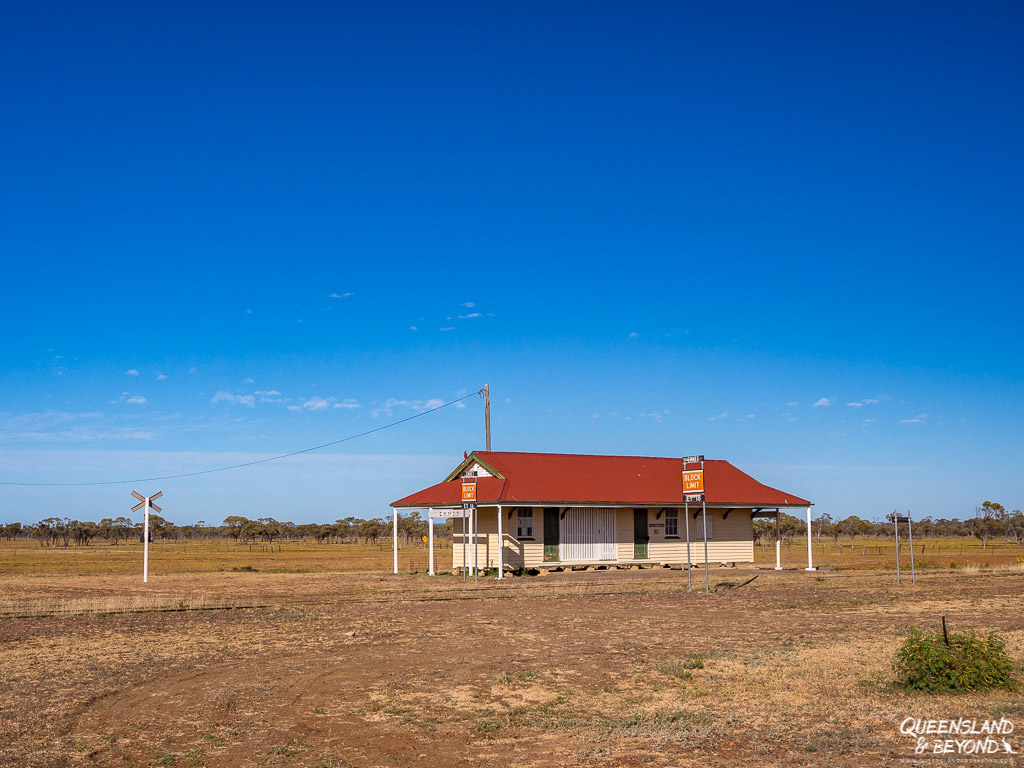
Living on the east coast, you’re never far from people. Out west, you’re almost always far from people.
After a week, you’ll forget that traffic lights exist but take every opportunity to fill up with fuel. You’ll see more road kill than you have in a long time but soon you don’t even notice the carcasses on the road anymore. Your mobile phone stops working, so you simply turn it off and forget you own one.
Out here, life is slower and that forces you to slow down.
And winters are just about as perfect as can be.
GETTING A TASTE OF THE QUEENSLAND OUTBACK
The national parks in the Queensland Outback offer plenty of opportunities for camping, exploring, self-guided drives, and short hikes. And then there are the vibrant country towns with their small bakeries, grocery stores, amazing butchers, famous pubs, annual events, local museums, and increasing caravan parks catering to grey nomads.
We usually pop into a bakery or butcher in town when we need to refuel. But for the most part, our town stops tend to be very short and focused on getting supplies. And we don’t really hang around the (in)famous pubs either.
We go out west for the solitude, time away from life on the coast, and to explore a part of Australia we haven’t seen before.
Since the Outback is rather large, and sadly we don’t all have three months to travel across Australia, here’s my suggestion for spending a bit over a week in the Queensland Outback, focusing on three national parks: Idalia, Welford and Currawinya.
HEADING INTO OUTBACK QUEENSLAND: KNOW BEFORE YOU GO
Travelling into the Queensland Outback requires a certain amount of preparation.
While most of these places can technically be accessed in a 2WD-vehicle in the dry season, scenic drives within the national parks are usually limited to 4WDs.
With a campervan that has high clearance and careful driving, you could probably manage getting into these three national parks. Just be very mindful of road conditions and that you really don’t want to get stuck out there when it’s even vaguely wet. The scenic drives will be off-limits though.
Ensure you have or know the following:
- Know when to travel: Winter is the best time for outback travel. The days are cooler (mid-20°Cs) with occasionally frosty nights, and relatively little rain. April to September is best (my favourite time is June/July). Temperatures can be very high (40°C+) during summer, and many roads stay impassable long after rain.
- Ensure your vehicle has either a large fuel tank or dual tanks: Distances out here are vast and fuel becomes less and less available. Fill up whenever you can, even if you’re still 3/4 full as fuel stations are known to run out of fuel altogether. Blackall, Windorah, Quilpie, Thargomindah, Eulo will be your best stops for filling up along this loop.
- Carry (more than) sufficient water with you: We took 60L and used water very conservatively (think washing dishes once a day only, etc.). We filled up again in Quilpie (bore water) and used that for all washing and cooking needs from then on. Plan at least 5-7L per person per day.
- Be prepared for flies: We almost went as far as Blackall the year before and experienced virtually no flies. This time, there were flies everywhere. Apparently they weren’t as bad as a few weeks prior but they were sufficiently annoying that I was grateful for my mozzie/fly net, and chose to eat dinner inside the tent a few times.
- Be prepared for mozzies at Currawinya: The mosquitoes were so bad at our first campsite at Currawinya that I wanted to leave that night. It was an onslaught of buzzing insects. The bites didn’t hurt or itch terribly but the buzzing and biting was incessant. Our second site was somewhat better so choose your camping spot wisely. I actually developed Ross River Fever a few weeks (and still have flare-ups years later) later so protect yourself against mozzie bites.
- Pack clothes for cold and hot weather: Based on previous trips into Central Queensland during winter, I was prepared for seriously cold temperatures (scarf, gloves, puffer jacket, etc.). I didn’t need any of these on this trip (first week in July). Instead, I was really hot in my 3/4 leggings, and couldn’t believe I hadn’t thought of throwing in a pair of shorts.
- Don’t forget a hat and sunscreen: We had four days of blue skies and sunshine, and I couldn’t have done without my hat. Even in winter, the sun is still strong out here.
- Don’t expect to have mobile coverage: Unless you’re with Telstra (and not just a carrier that uses the Telstra network), you won’t have coverage out here. Beyond the towns, you won’t even have access to emergency signals. Carry a PLB (personal locator beacon) and/or have UHF radio in your car in case of emergency or breakdown.
- Expect dust to get everywhere: The drier it’s been and the hotter the day, the more dust will get kicked up as you drive along these outback roads. Expect the red dust to get into everything and to stick. Protect your electronics by wrapping them up – I’d wrap up my camera in a top when I didn’t have it stored in the bag, just to protect it from the dust as we were driving.
A 10-DAY ITINERARY FOR OUTBACK QUEENSLAND
The problem with exploring Central Queensland is that it’s a long way from the coast. From the Sunshine Coast, you have to drive 1,000km just to get to the start of what’s considered the Queensland Outback. And you haven’t even gone anywhere yet.
But making it this far west is definitely worth it.
Doing this loop around Queensland’s Channel Country will give you a real taste of the outback. The towns become smaller, the roads narrower, the road trains longer, and the dirt increasingly redder.
If you want to get off the beaten path, this loop is for you. You won’t see too many Juicy vans, Britz motorhomes or grey nomads in their caravans beyond the towns leading to Longreach or Birdsville.
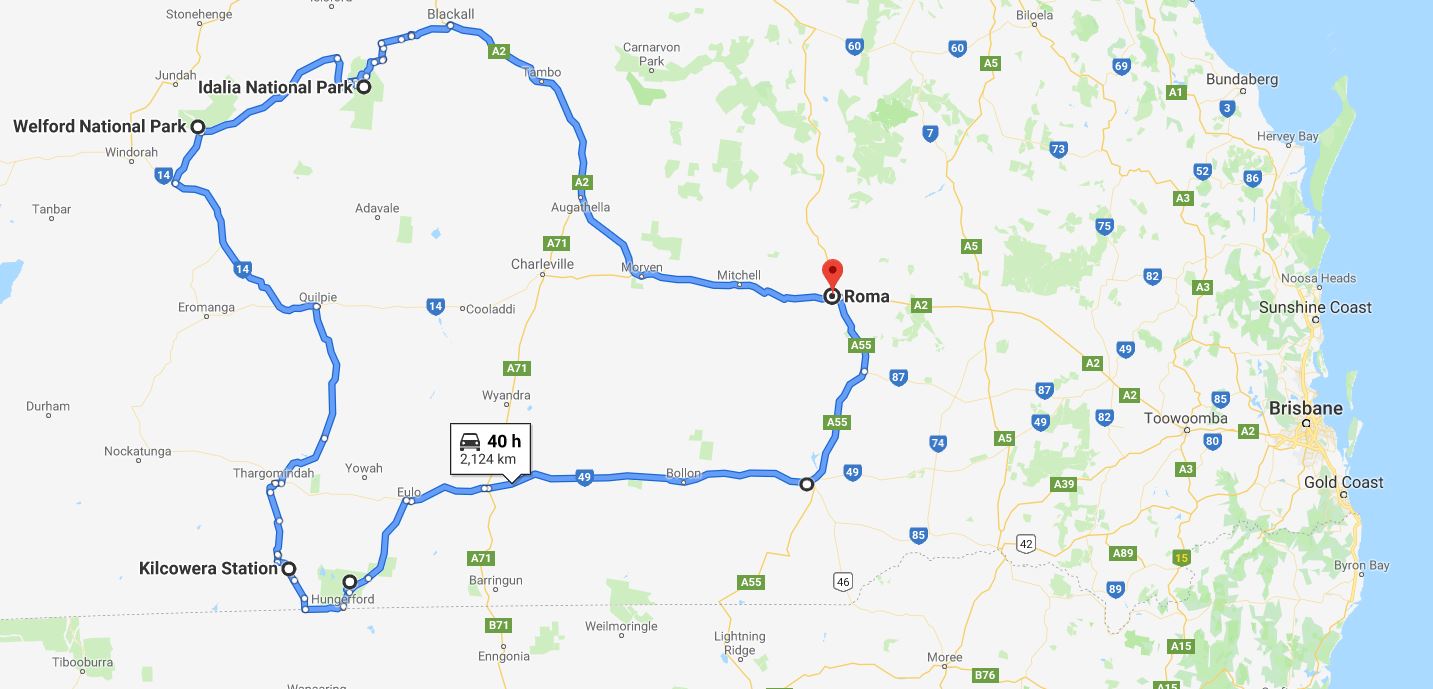
You can do this loop in either direction and add on plenty of side trips.
Keep in mind that doing this outback road trip is pretty ambitious, and requires moving every day or every second one. If that’s too intense for you, just take more time and add a few days to the itinerary.
We did this road trip in about 9 days, which was just about perfect for us. We clocked up about 3,800km altogether.
Of the 9 days, we had three travel days: Two days to get to our first stop at Idalia National Park, and one day to drive back home.
We had actually allowed two days to drive back home but we mixed up some directions and ended up driving home from Currawinya in one hit (not recommended unless you love driving long distances).
It was a long night…
DAY 1: SUNSHINE COAST / BRISBANE TO MITCHELL OR MORVEN
The drive out to Mitchell (~600km) or Morven (~700km) from the coast is pretty straightforward, it just takes a fair few hours. We usually like to get going early (6am or earlier) and then stop in Chinchilla for a coffee and a quick break.
Roma is a fairly sizeable country town along the way so if you need supplies, this would be a good place. We’ve been through Roma a few times, and once even stayed in a dodgy motel there, but have never really looked around the town much. I think we’re always in travel mode when we come through Roma.
MITCHELL
If you break your journey in Mitchell, have a soak at the Great Artesian Spa. We did this the year before after about a week of hiking and camping in Central Queensland, and boy, was I happy to have a shower and a good long soak in the warm artesian waters!
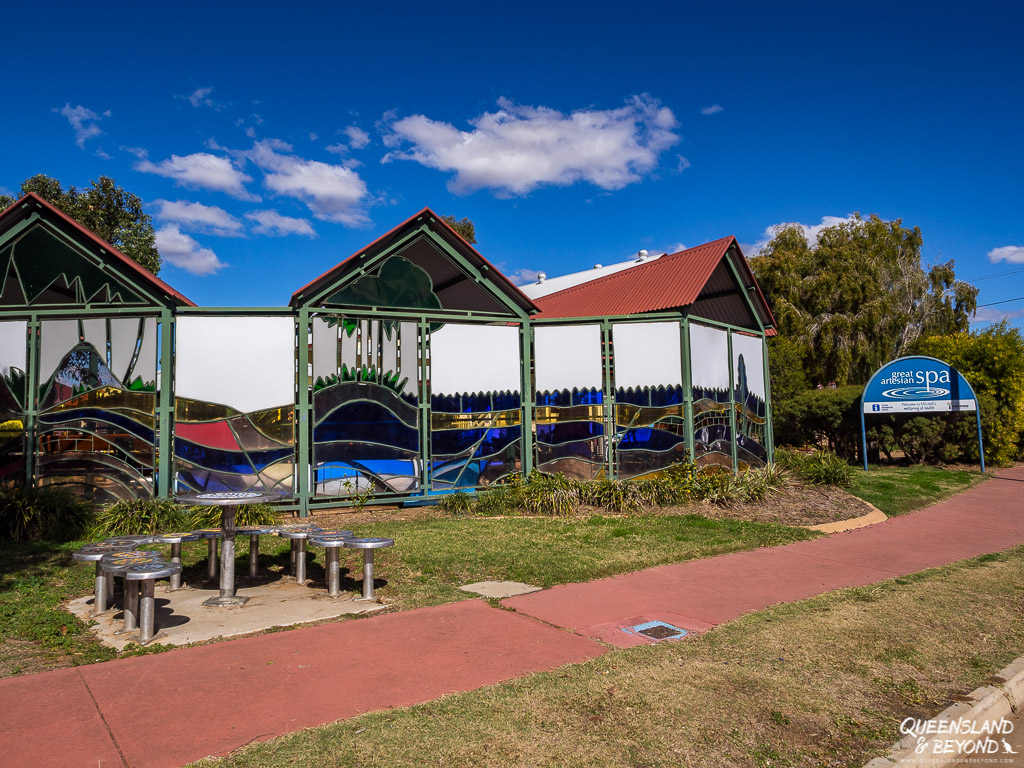
The bakery in Mitchell is also quite famous, and popping in for a snack helps keep these country towns alive. (The husband has to repeatedly deal with my insistent ‘Let’s go in and buy you a nice treat to eat!’ suggestions since I usually can’t eat any of the treats.) 🙂
CAMPING OPTIONS
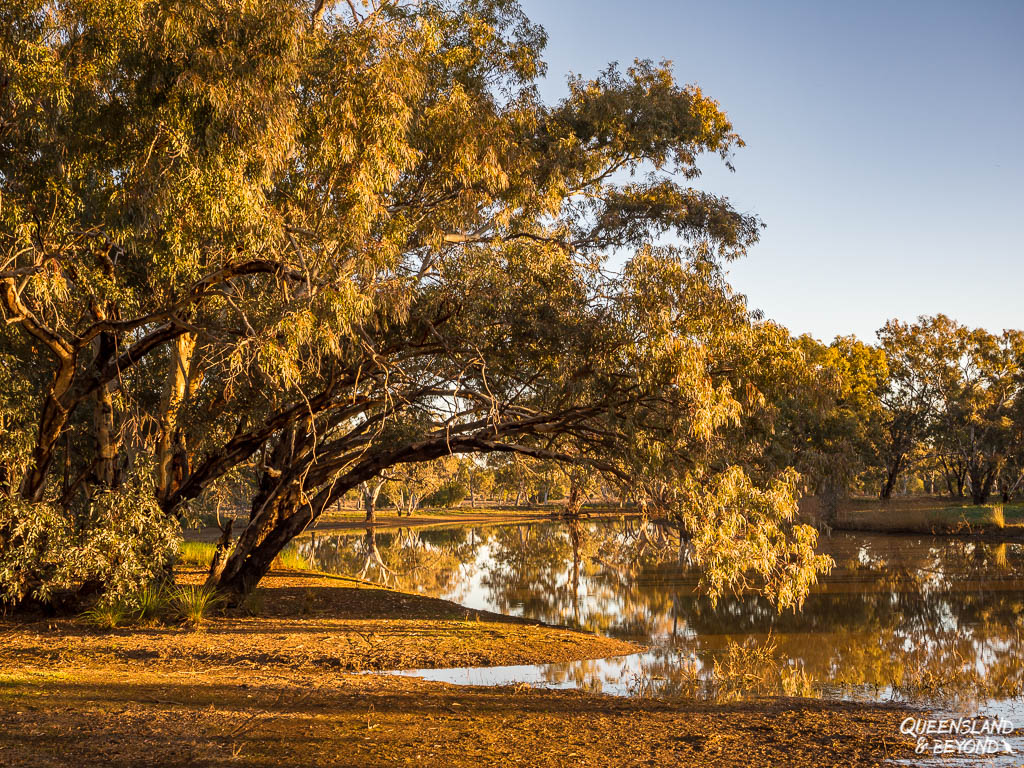
- Mitchell: Free camping along the Maranoa River at Neil Turner Weir and the smaller Fisherman’s Rest site – both very popular with caravans
- Morven: Camping at the Morven Recreational Facility; $5 unpowered site
Both sites are fine for an overnight stop, even with a tent, though the spots at Mitchell are much prettier than Morven. On the other hand, the toilets were much cleaner at Morven when we stayed there.

DAY 2-3: MITCHELL / MORVEN TO IDALIA NATIONAL PARK
The drive from Morven to Idalia National Park takes about 7 hours (add an hour / 100km if coming from Mitchell).
We expected the Isisford-Blackall Road from Blackall to Idalia to be unsealed and slow-going. Good news is that it’s sealed all the way to the turnoff for the Blackall-Emmet Road, which then takes you into Idalia.
We stopped briefly in Blackall for fuel, and then went straight to Idalia, getting there by mid-afternoon.
IDALIA NATIONAL PARK
Idalia National Park is a great spot for a couple of days. Here you get to explore rocky escarpments, gorges and relics of a pastoral past.
We stayed two nights at the basic campground at Monks Tank, which seemed just the right amount of time. If you’re after a bit of downtime, plan an extra day or so.
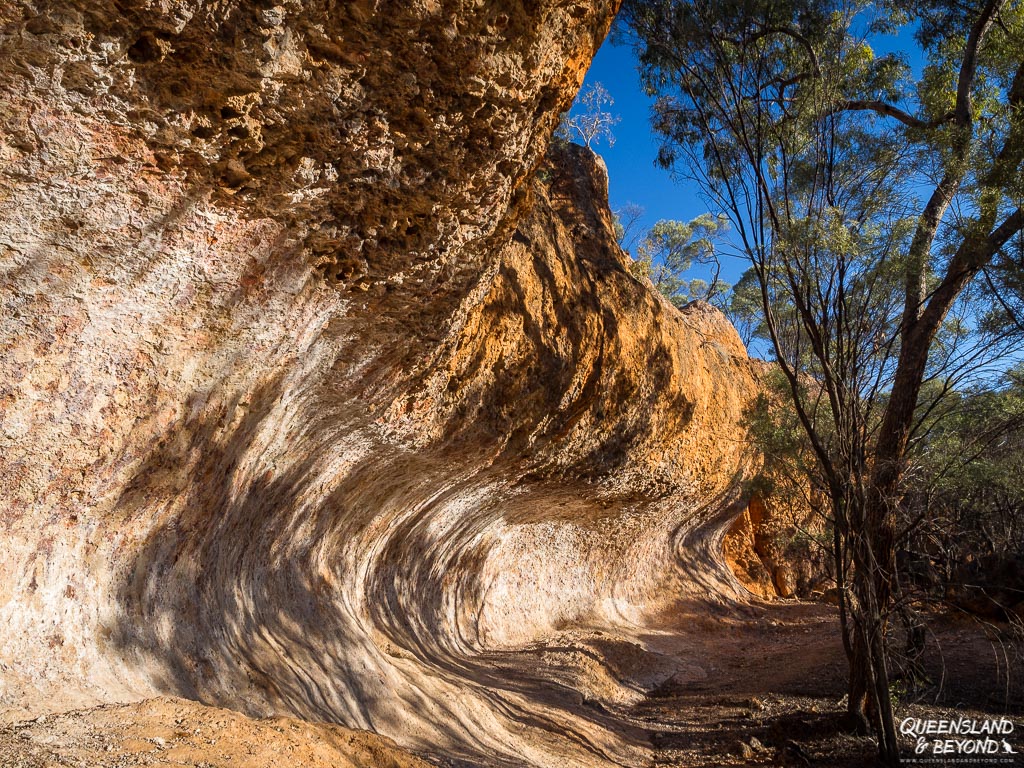
There are a couple of short hikes at Idalia, one of which we ticked off the same day we arrived after setting up the tent. Wave Rock is best explored in the late afternoon light so off we went that first day.
The next morning we started early to hike the short but difficult Emmet Pocket Walk, which ended up being a completely flat walk with no difficulty – or views! – whatsoever.
The Bullock Gorge Walk is another short hike and definitely worth it as you get great views into the surrounding countryside from the escarpment. There are a few other sights to see, including Rainbow Gorge, but none of them will take much time.
If you’re lucky, you might even spot an elusive yellow-tailed rock wallaby. The husband glimpsed one off Emmet Pocket Lookout.
CAMPING OPTIONS
- Idalia National Park: Monks Tank Camping Area
- Blackall: Camping along the Barcoo River, just outside of town; $5 unpowered site (popular with caravans)
DAY 4-5: IDALIA NATIONAL PARK TO WELFORD NATIONAL PARK
The drive from Idalia to Welford National Park is roughly 250km so not a big travel day.
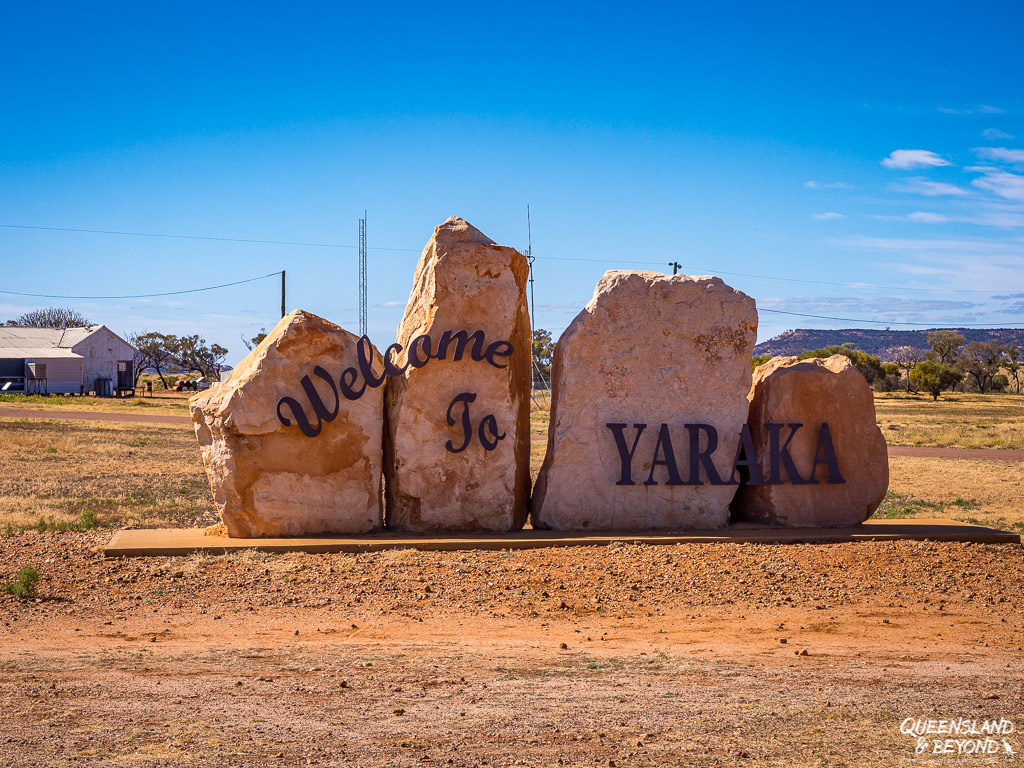
Make your way back to the Isisford-Blackall Road, which becomes the Emmet-Yaraka Road at Emmet. This is a gorgeous drive as you pass by range after range.
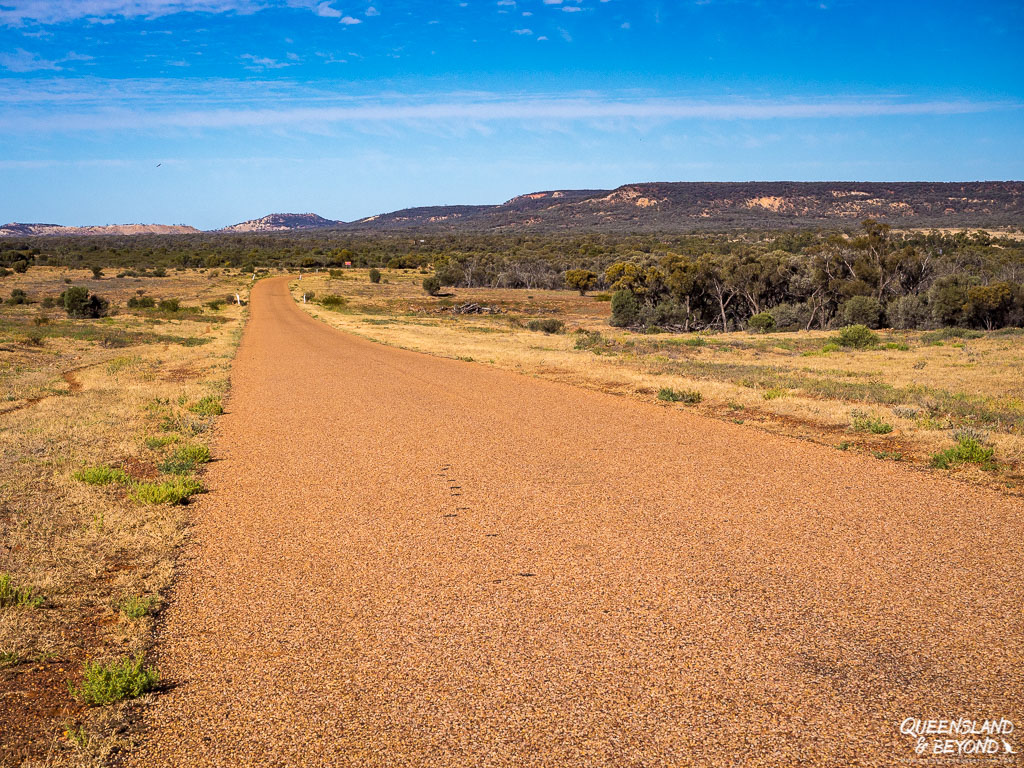
The road is pretty much sealed all the way to Yaraka. Past the tiny settlement of Yaraka (fuel available), it’s more unsealed than sealed but was still in excellent condition (July 2019).
MOUNT SLOCOMBE
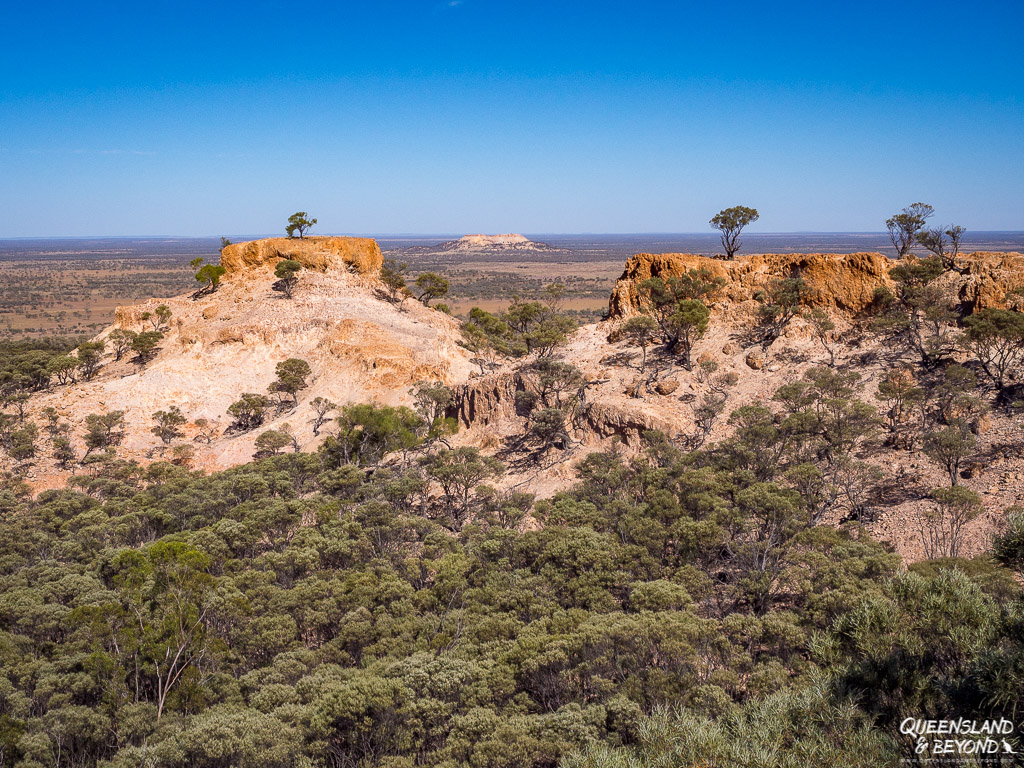
Before you get to Yaraka, definitely take the side trip to Mount Slocombe. You’ll get incredible 360° views from up the top, and there’s a fantastic picnic shelter, toilet and even (tank) water available.
This spot would be amazing for sunrise or sunset, you could see for miles around. Alas, we were there at 10:30am so simply had morning tea and headed off.
From there it’s another 100km to Welford, and though Google Maps suggests it’ll take 3.5 hours to get there, it only took us 2 hours to reach the boundary of the national park. More of the road has probably been sealed by now than what Google thinks but travel in the outback is also unpredictable so be prepared for things to take longer.
WELFORD NATIONAL PARK
Like at Idalia, we camped two nights at Welford National Park but unlike Idalia, Welford doesn’t offer much in terms of developed walking trails. Welford also feels much more desert-like than Idalia, which had a distinct rocky feel to it.
Queensland Parks & Wildlife Service have developed three scenic drives at Welford, with the Mulga Drive ending up being our favourite. It offered varied vegetation, and the red soil looked amazing in the late afternoon light.
The drives do take a few hours to drive so two days would be the absolute minimum you need to spend here if you want to explore all the drives.
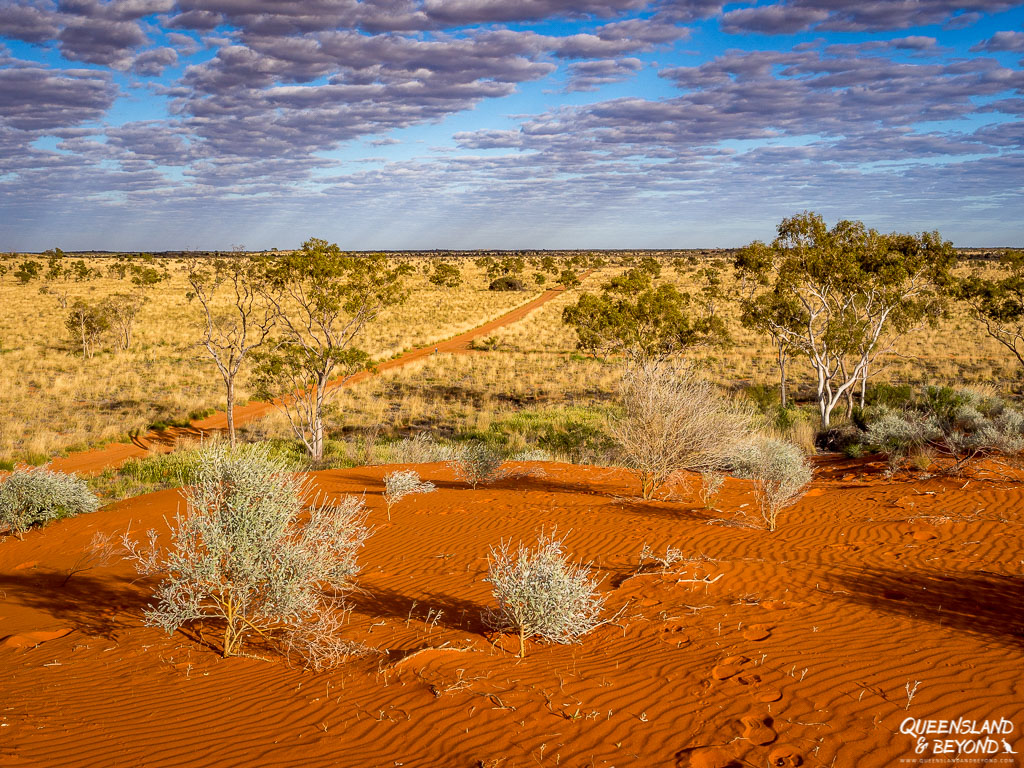
The highlights at Welford are, no doubt, glistening clay pans, clear waterholes, and the little red sand dune, perfect for sunset watching.
CAMPING OPTION
- Welford National Park: Little Boomerang Waterhole Camping Area
DAY 6: WELFORD NATIONAL PARK TO KILCOWERA STATION
After Welford, you’ll have another long travel day ahead to get to Kilcowera Station an hour south of Thargomindah (~530km).
QUILPIE
We left Welford early and stopped at the much-bigger-than-expected town of Quilpie to refuel and frequent the local bakery. 😉 In fact, I got a gluten-free lemon tart at the local supermarket AND a gluten-free passionfruit cheesecake at the bakery, couldn’t quite believe my luck!
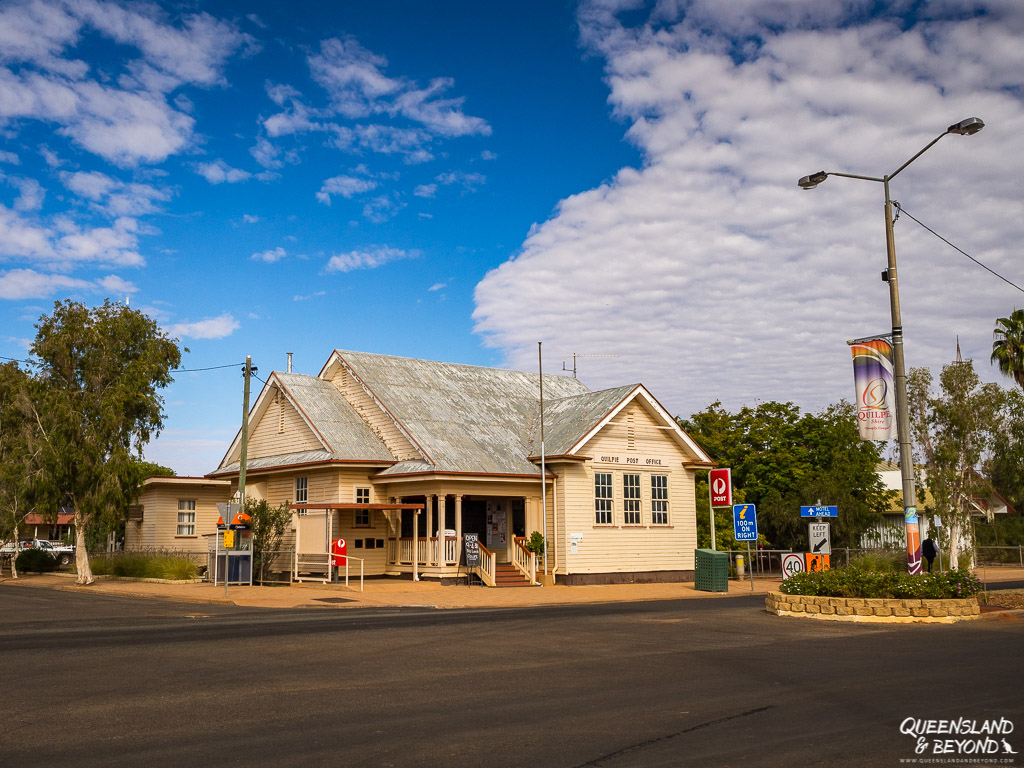
If you need to refill water, there’s (bore) water available at the visitor centre but make sure to choose the tap with the sign on it. Otherwise it’ll be scalding hot as the bore water here comes out hot and has to be cooled down first.
Unlike in the Northern Territory, I didn’t find the bore water here particularly sulphuric or odd-tasting.
7km south of Quilpie is Baldy Rock Lookout from where you can get some nice views (so I’m told, we didn’t quite have the time to explore). If you’re staying in Quilpie for the night, I’d definitely do that. I bet sunset is pretty cool from there.
We left Quilpie around 12pm, and it took us another five hours to get to Kilcowera Station, some 90km past Thargomindah. (We did take a slightly more circuitous route though as we wanted to go through some more station country.)
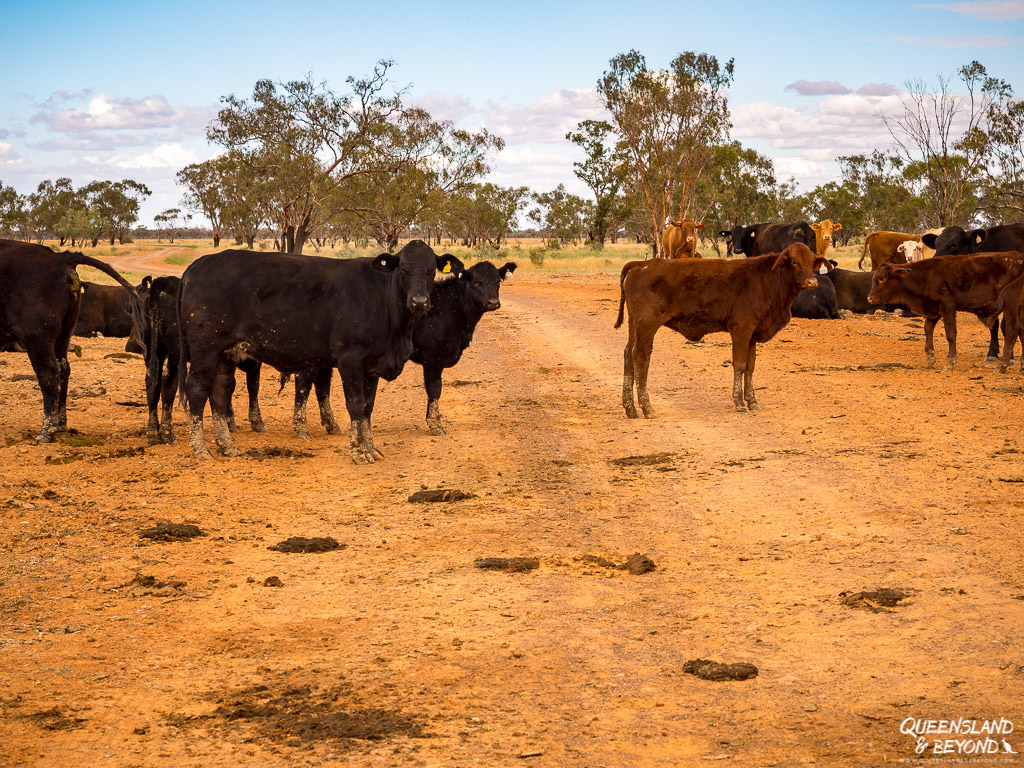
We saw very few cars or trucks on our way from Quilpie to Kilcowera. This is where things really start feeling remote. As you pass by a few isolated stations, you can’t help but wonder how tough life must be out here.
KILCOWERA STATION
If you’ve never camped on a station, here’s your chance.
Kilcowera Station is a working organic cattle station, and has been in the same family close to 30 years. Toni and Greg have set up their property for campers (and other accommodation in the old shearer’s quarters), and you can either get an unpowered or powered site.
We’d never stayed at a station before, and really enjoyed our little site at the lagoon. Plus, I relished being able to have a shower after a week on the road and tons of red dust in my hair.
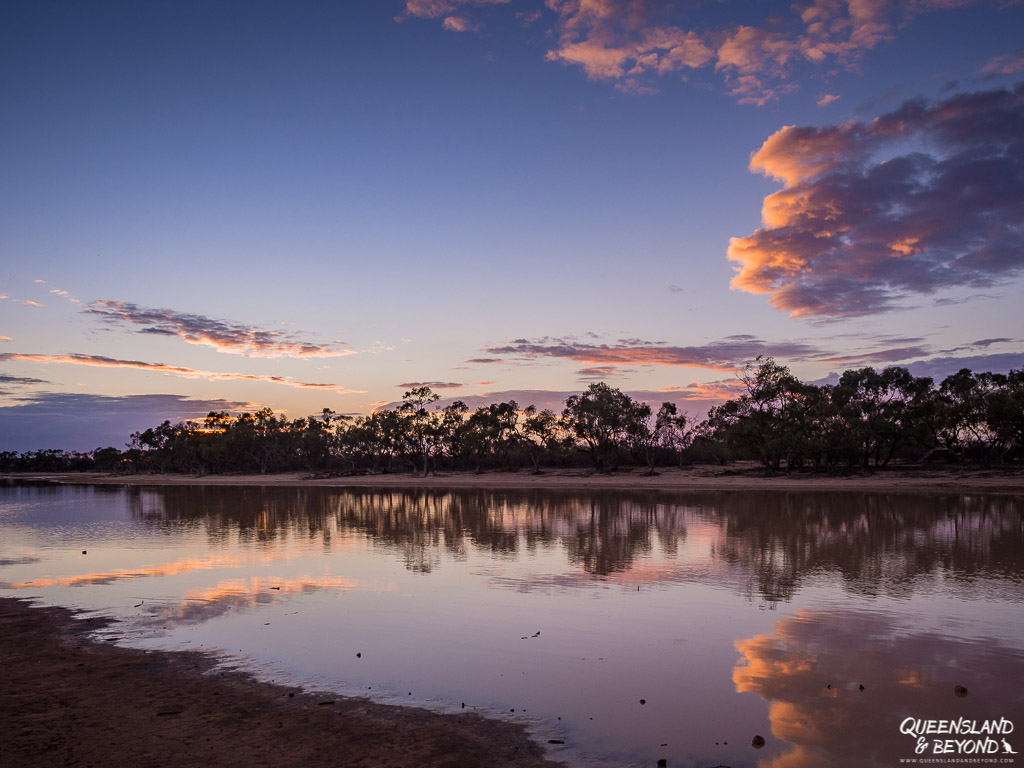
The next day, we took our time to do the scenic drive around their property (about 5 hours), and then wished we had booked another night here instead of at Currawinya.
CAMPING OPTIONS
- Kilcowera Station: Powered ($50) and unpowered ($40) sites at a working cattle station
- Currawinya National Park: Various camping areas
- Please note that camping is not permitted along the Bulloo River outside of Thargomindah (there’s a commercial caravan park in town)
DAY 7-8: KILCOWERA STATION TO CURRAWINYA NATIONAL PARK
Getting from Kilcowera Station to Currawinya National Park won’t take more than a couple of hours (~100km). We ended up rushing a bit as we spent the best part of Day 7 exploring Kilcowera Station, and only left the station around 3pm.
Along the way you could stop at Hungerford. It’s a tiny town with a somewhat crazy-looking pub and gravity-fed fuel available.
CURRAWINYA NATIONAL PARK
Currawinya National Park is almost bordering on NSW, and easily one of Queensland’s largest national parks. It has recently been extended and now encompasses a pretty vast area.
The park is a wetland of international importance, supporting more than 100,000 birds, including migratory ones. Obviously in winter, the waterways are relatively dry so bird watching isn’t necessarily at its prime. Still, you’ll see plenty of birds if you keep your eyes out for them.
Currawinya has two large lakes, one fresh and the other salty, and a myriad of channels, waterholes and rivers cruising through the area. Except for one area, camping is found along the Paroo River (think muddy waters, not clear blue).
But what we found really fascinating are Currawinya’s remnants from pastoral times.
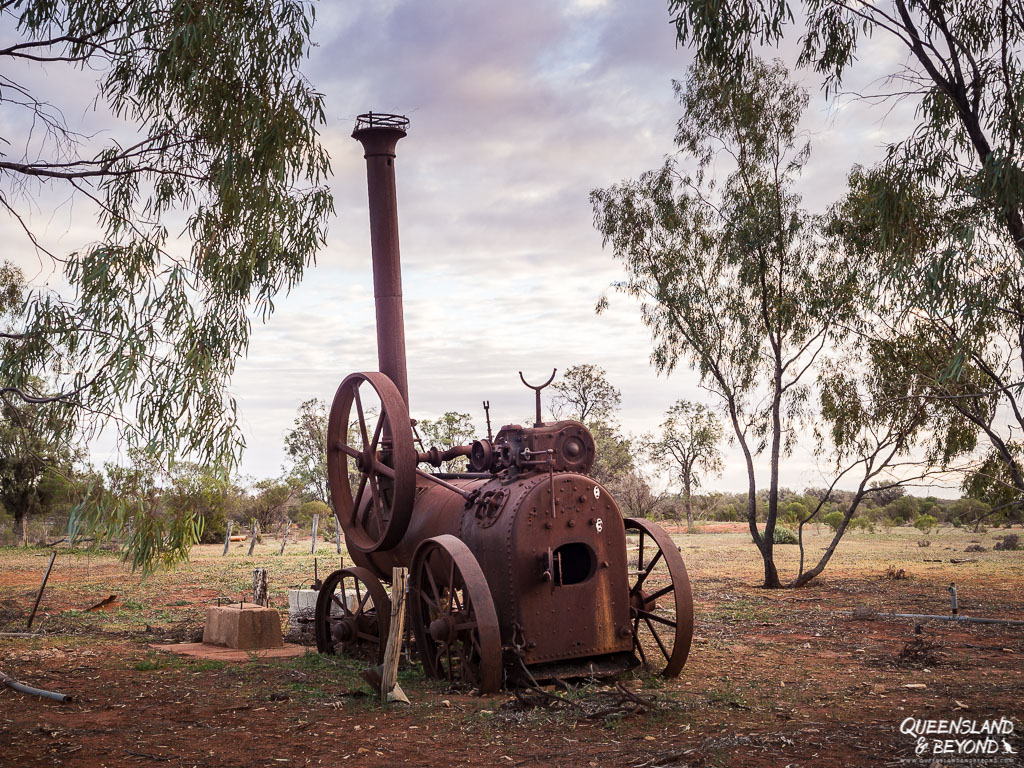
Two huge shearing sheds, including a number of other pastoral outbuildings, give a glimpse into the hard life that once was pulsing out here.
We easily spent two days at Currawinya. Just doing the new River Drive takes a day. 3-4 days would allow a more relaxed way of exploring all that Currawinya has to offer, especially if you’re into poking around relics from the past.
CAMPING OPTION
- Currawinya National Park: Various camping spots along the Paroo River
DAY 9-10: CURRAWINYA NATIONAL PARK TO SUNSHINE COAST / BRISBANE
Day 9 and 10 will be travel days again, and marked the end of our Central Queensland Outback road trip.
We spent a leisurely morning exploring yet more historic remnants at Currawinya, and then left the national park around lunch time. Our next stop would be Thrushton National Park near Bollon, and after getting fuel in Cunnamulla, we went on to Bollon.
Cunnamulla looked like a super tidy town, and I spotted some painted silos that I totally forgot to photograph. There were plenty of people getting snacks and food from the local pub so it’d probably make for a nice stop for lunch.
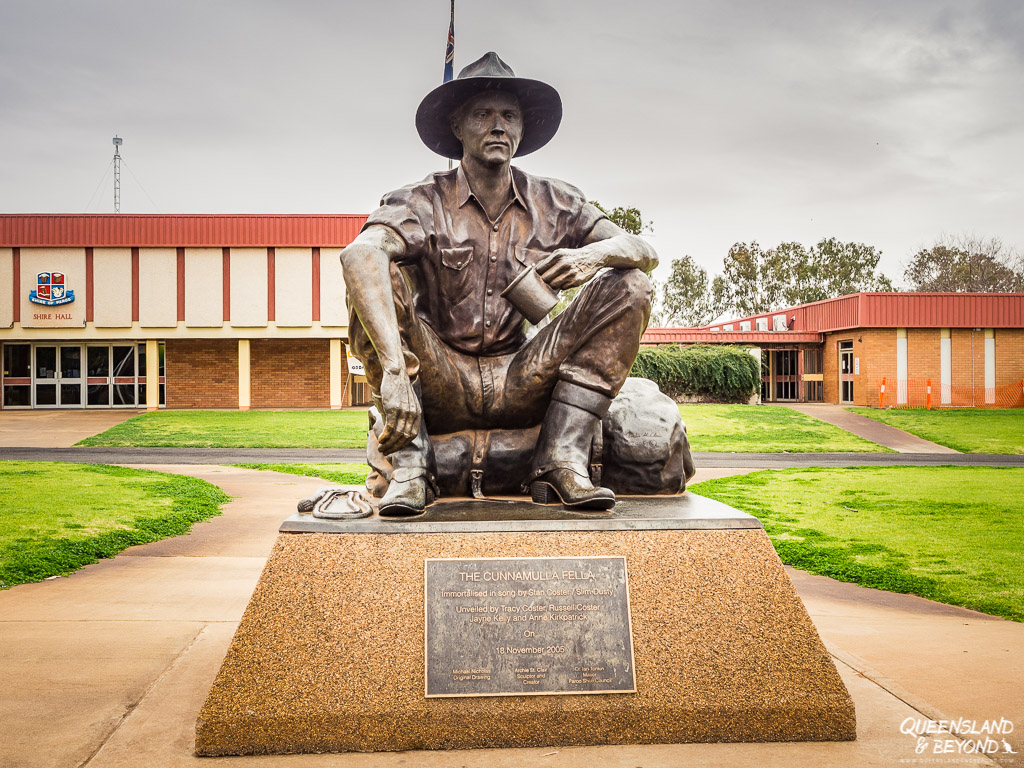
BOLLON
We briefly stopped at the camping area in Bollon, and debated staying the night but then decided to move on to Thrushton National Park.
An hour out of Bollon, we realised that we should have turned off the Balonne Highway before reaching Bollon (onto the Mitchell-Bollon Road) to get to Thrushton, and turning around now would mean a fair detour. By the time we’d get back to Bollon, let alone Thrushton, it’d be dark so we decided to keep going, stop in St. George for a quick bite to eat, and drive home that night.
CAMPING OPTIONS
- Bollon: Free camping along Wallum Creek (popular with caravans); hot showers available along the main road in town
- Thrushton National Park: Thrushton Homestead Camping Area and Thrushton Woolshed Camping Area
In the end, Day 10 was spent at home. First sleeping in, and then cleaning out the car and putting all that camping gear away again.
Driving all the way from Currawinya back to the coast meant a big drive (~1,000km). If we hadn’t dawdled so much in the morning, thinking we were going to Thrushton, we would have left early and got home at a somewhat more reasonable hour. That said, Bollon would make a great stop to break up the trip home.
FINAL THOUGHTS
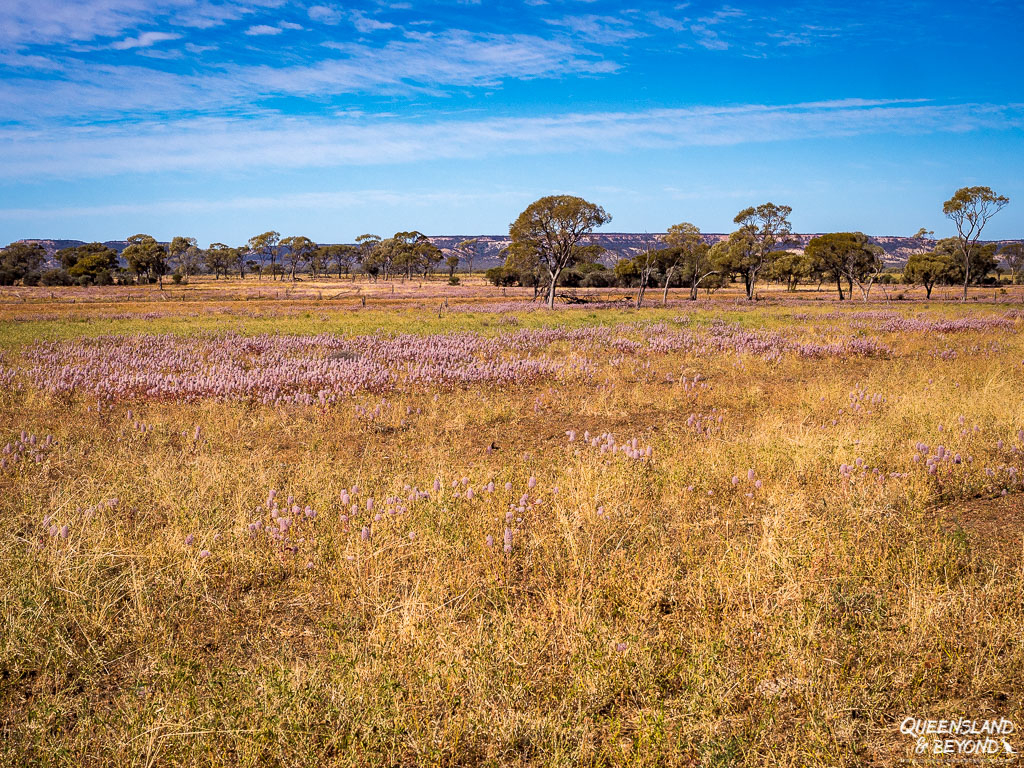
Queensland is a massive state, and even after a few years living here, we’ve still only see a small part of it.
I love heading into the interior, albeit only during the cooler months. If you’re after solitude, wildlife, red dirt and wide open spaces, southwest Queensland is a great spot.
The three national parks are all very different, and I enjoyed each one for different reasons. Idalia offered gorges, rocky escarpments and walks. Welford had beautiful clay pans, Mulga shrubland and sand dunes. And Currawinya gave us a real insight into the former sheep shearing industry (though interpretation panels were somewhat lacking).
10 days isn’t a heap of time for exploring such a vast area so if you have an extra day or two, you’ll be able to travel a bit slower and have some time to relax. We could have used two nights at Kilcowera Station, and would have liked to stop at Thrushton National Park as well. And now that Currawinya is opened up even further, three nights there would be the minimum.
Happy exploring,

MORE POSTS ON TRAVELLING IN THE OUTBACK
For more detailed information on what to do at Welford, our second stop on this outback road trip, take a look at my guide to Welford National Park.
Perhaps not technically in the Queensland Outback, Carnarvon National Park is an amazing place to explore. With four different sections accessible, it can be hard to decide what to see. Here’s my guide to Mount Moffatt, or if you want to do some overnight hiking, Carnarvon Gorge is a great destination.
The Northern Territory is another vast area, and one that has a lot of popular spots. Read more about my highlights from our Northern Territory road trip.
Hiking in the Australian Outback can be a very special experience. The Ormiston Pound Hike in the West MacDonnell Ranges is a stunning half-day walk. If you’re keen on long-distance hiking, the Larapinta Trail is a must.
SAVE TO PINTEREST



2 Comments
Spophy
7 August 2019 at 10:38 PMWas für eine schöne Einleitung 🙂 Und vor allem die Bilder von Tag 2 sind richtig beeindruckend. Lustig wie richtig zu sehen ist, dass alles irgendwie so golden und orange und nach Outback aussieht, also allein vom Licht.
Kati
9 August 2019 at 6:42 PMOh, danke schoen! 😀
Ja, alles sehr golden und hell (teilweise sogar sehr grell) im Outback. Am schoensten finde ich immer die rote Erde mit gruenen Straeuchern, Grass oder Baeumen. Da muss es allerdings gut regnen!